MA_Screenplay
The Screenplay macro collection makes it easy to create complex animations. Without it, a lot of work has to be done with clock and clock_on - with it, a large number of short, different scenes can be merged into a long film rapidly. As the name suggests, a kind of screenplay is defined, where and what object should appear when.Examples
Terminal command
Mini-Tutorial
- Container
- Example 1 - very simple
- Second-0 to second-3
- Slope
Datatypes
- Standard
- Spline
- Mixed
- Marker
The strange second parameter
Internal handling
Scenes
Start Screenplay
Splitting the instructions
That's it for now
Download
Videos
- Tutorial
- Tussi
Terminal command
Mini-Tutorial
- Container
- Example 1 - very simple
- Second-0 to second-3
- Slope
Datatypes
- Standard
- Spline
- Mixed
- Marker
The strange second parameter
Internal handling
Scenes
Start Screenplay
Splitting the instructions
That's it for now
Download
Videos
- Tutorial
- Tussi
Examples
In addition to the include file, the package contains several example files.
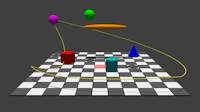
ma_screenplay_example2_tutorial.pov is structured as a tutorial in which I wrote at each step, when and what and why. Inside, geometric objects such as spheres, rectangles, cones and others are chased around to make the explanations reasonably clear.
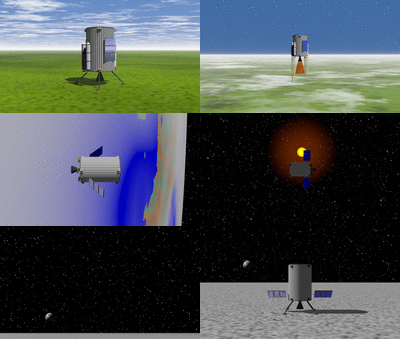
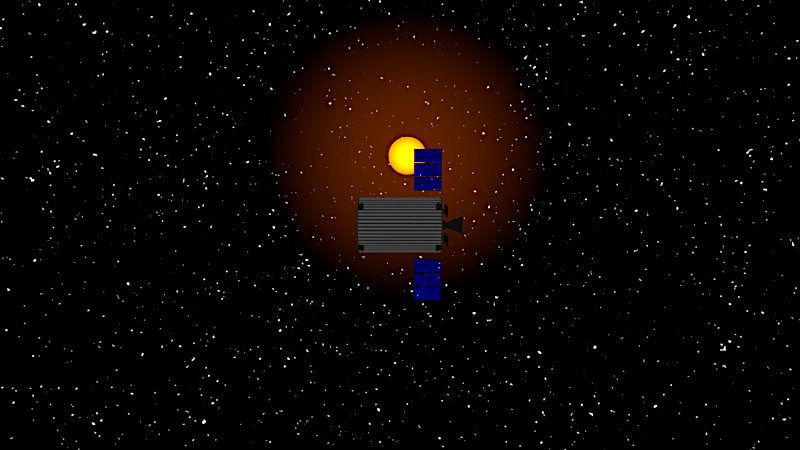
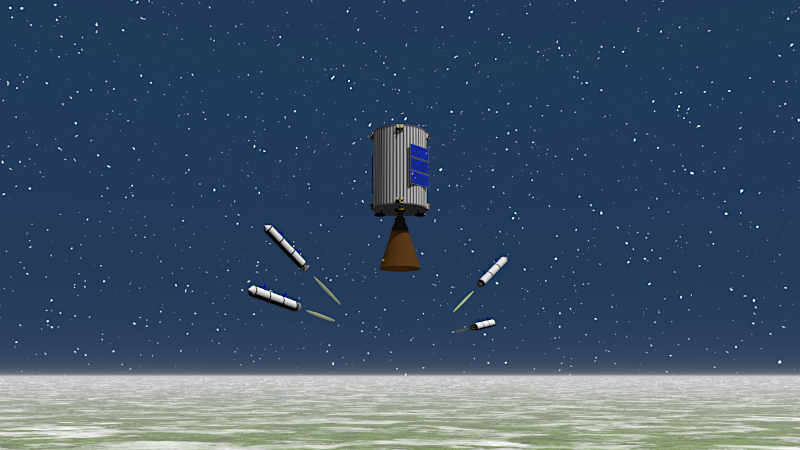
ma_screenplay_example7_tussi.pov sends my action-hungry space probe Tussi on its way. Once from Earth to space, to the moon and a landing on it. Complex problems are worked with, which shows the capabilities of screenplay. There are also countless comments built into the file, which expands this documentation.
Terminal command
To create all the images for an animation, an INI file is a good idea. However, this is too much work for me, so I prefer the short variant via the console call.
Examples:povray +Ima_screenplay_example2_tutorial.pov +Oanim2/anim0- +w1200 +h900 -GR +A +KFI0 +KFF10000
povray +Ima_screenplay_example0_empty.pov +Oanim2/anim0- +w800 +h600 -GR -A +KFI0 +KFF10000
Mini-Tutorial
Container
Despite the examples mentioned inside, there should be no lack of a few words to get started. For all code snippets shown here, the following container can be used, which is also included as a file in the zip:ma_screenplay_example0_empty.pov
#version 3.7;

#include "ma_helpers.inc"
#include "ma_screenplay.inc"

#declare LigVector          = <0,10,0>*100;
#declare CamLookAt          = <0,3,0>;
#declare CamLocation        = <1 , 5 ,-15>;
#declare CamAngle           = 60;

#declare SCR_FPS            = 10;
#declare SCR_SecondStart    = 0;
#declare SCR_SecondEnd      = 10;
#declare SCR_SecondFreeze   = 5;

#macro SCR_Init ()
    SCR_RegisterScene ("first", 10)
#end

#macro SCR_Timeline ( mSimulation )


	/* Fill in the example-lines here instead of this comment*/


	//Do some other stuff
	MA_Testarea (5)
	sky_sphere { pigment { color Gray05 } }
#end

SCR_Start()
MA_CameraAndLight_Set()
Example 1 - very simple
Let's start bit by bit and see what work Screenplay does.Below the code that should be inserted in place of the green comment above.
//Say what scene you define
SCR_SetScene("first")

//Define the screenplay
#local mName		= "sphere";
#local mProp		= "translate-y";
#local mValueStart	= 0;
#local mValueEnd	= 8;
#local mSecond0		= 0.0;
#local mSecond1		= 0.0;
#local mSecond2		= 10;
#local mSecond3		= 10;
SCR_SetNumber (mName, mProp, mValueStart, mValueEnd, "", mSecond0, mSecond1, mSecond2, mSecond3, 1)

//Handle the actor(s)
#local mTransY = SCR_GetNumber ("sphere", "", "translate-y",	0);
sphere {
	<0,0.5,0> 0.5
	texture { pigment { color rgb <0,1,0> } }
	translate <0,mTransY, 0>
}
SCR_SetScene("first")

SCR_SetNumber ("sphere", "translate-y", 0, 8, "", 0, 0, 10, 10, 1)

sphere {
	<0,0.5,0> 0.5
	texture { pigment { color rgb <0,1,0> } }
	translate <0, SCR_GetNumber ("sphere", "", "translate-y", 0), 0>
}
SCR_SetScene("first")

SCR_SetVector	("sphere", "translate", <-5,0,0>, <+5,8,0>, "", 0, 0, 10, 10, 1)

sphere {
	<0,0.5,0> 0.5
	texture {	pigment { color rgb <0,1,0> }		}
	translate SCR_GetVector ("sphere", "", "translate",	<0,0,0>)
}
Second-0 to second-3
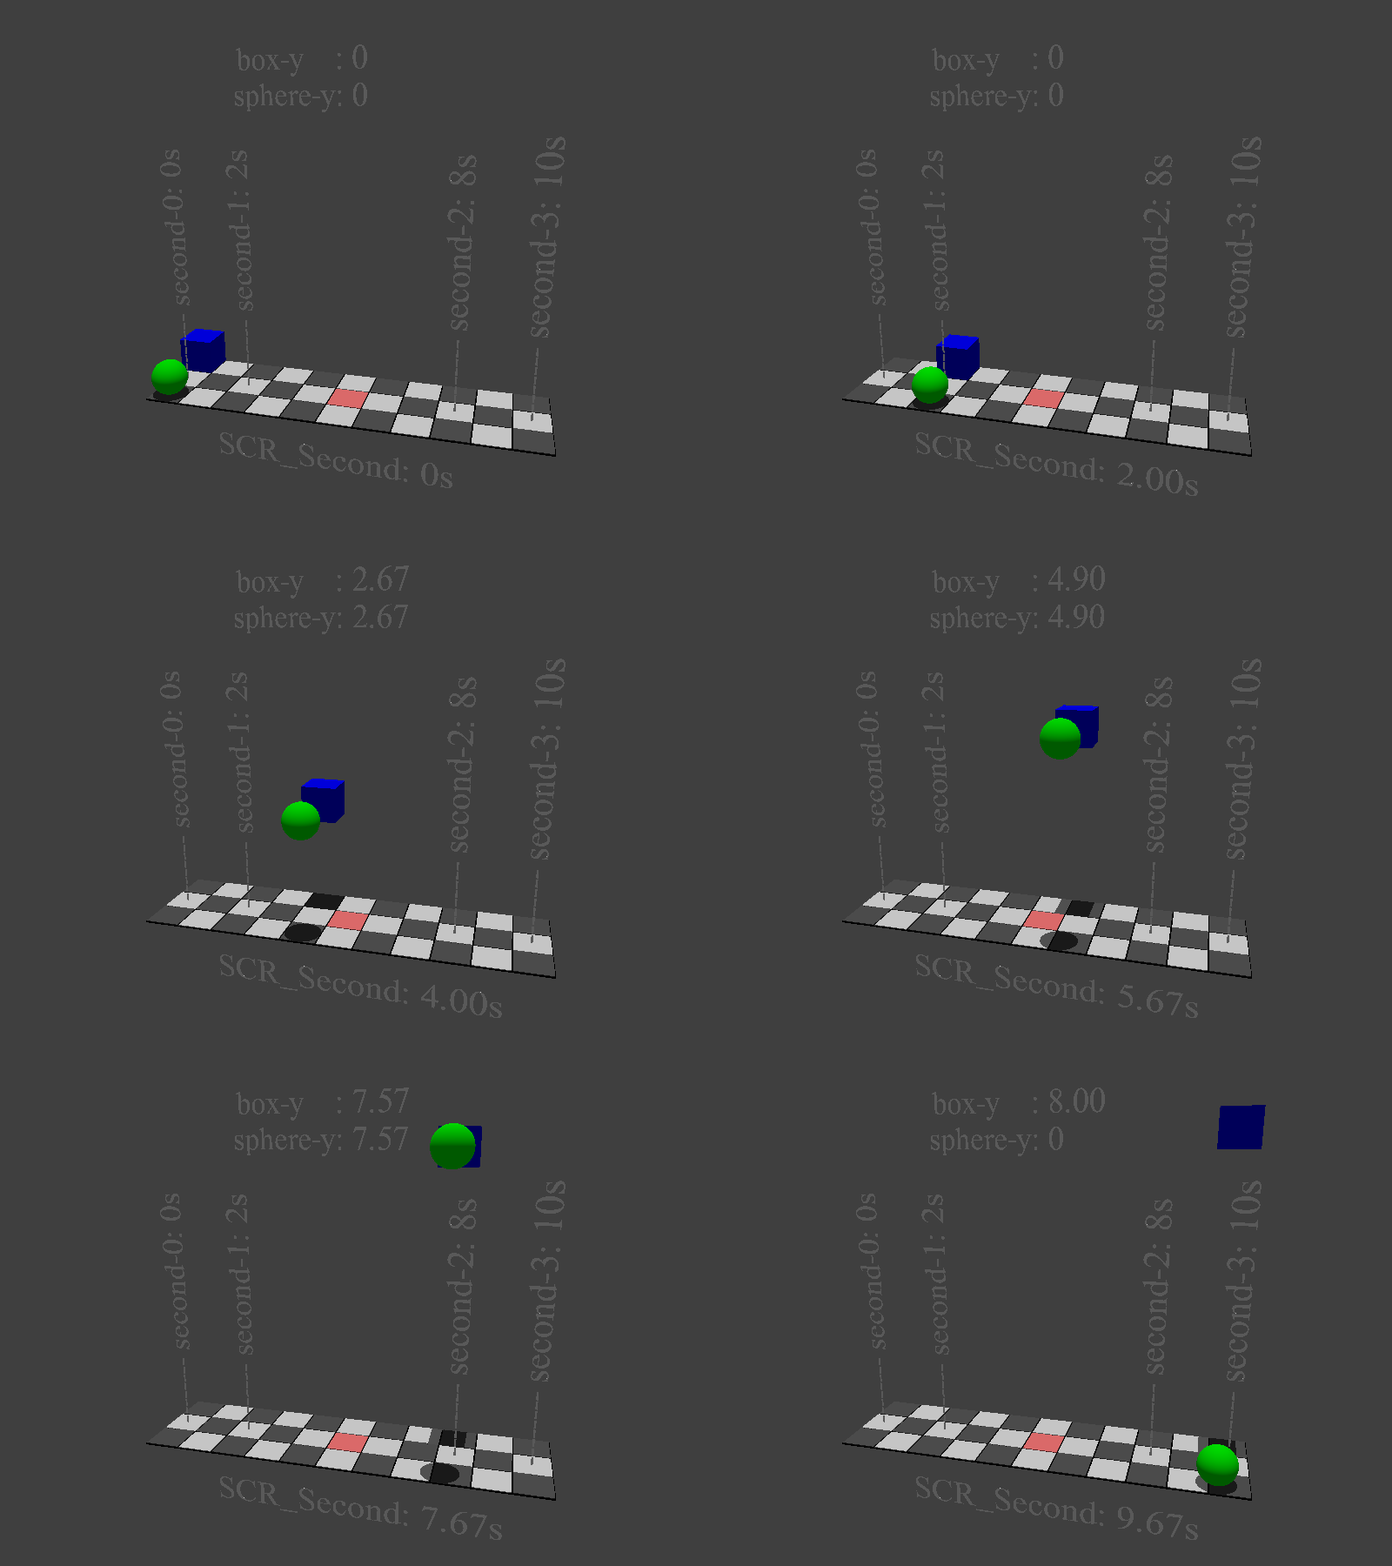
The calculation takes place between Second1 and Second2. Only there are the values extrapolated from ValueStart to ValueEnd. However, sometimes it has been shown that values for time spans before and after are useful. Since Povray does not allow optional parameters, I would have had to write new macros or macro headers for these cases, which would have been unnecessarily complicated.
Thus, between Second0 and Second1, the value of ValueStart is used.
Which value is used between Second2 and Second3 depends on the very last parameter EndState. If endstate = 0 (green sphere), ValueStart is active again, otherwise ValueEnd is returned till the end (blue box).
Simplified example:#local mSecond0 = 0;
#local mSecond1 = 2;
#local mSecond2 = 8;
#local mSecond3 = 10;
SCR_SetVector ("sphere", "translate-y", 0, 8, "", mSecond0, mSecond1, mSecond2, mSecond3, 0)
SCR_SetVector ("box", "translate-y", 0, 8, "", mSecond0, mSecond1, mSecond2, mSecond3, 1)
SCR_SetVector ("both", "translate-x", -5, 5, "", 0, 0, 10,10, 1)
#declare mFloat  = SCR_GetFloat  ("test", "", "translate-x", 0);
#declare mVector = SCR_GetVector ("test", "", "translate", <10,2,-3>);
Slope
The parameter left blank in the middle of the SCR_Set*() macros indicates the type of slope with which the calculation is performed. Without parameters, linear calculations are performed, with 10 steps from 0 to 10 thus in steps of 1.
A comma or semicolon-separated text is specified, consisting of the type of slope, the repetition rate and the starting point within the slope. Example: "cosinus;2;1".
For more detailed information, see the documentation on MA_GetSlope() and MA_GetSlope_ByString(), which are included in my general purpose tool MA_Helpers.
#declare mFloat  = SCR_GetFloat  ("test", "linear", "translate-x", 0);
#declare mVector = SCR_GetVector ("test", "cosinus++;1,0", "translate", <10,2,-3>);
Datatypes
Standard
How exactly to use them and how they differ is explained in the tutorial Povray file on living objects.
The string macros decide from the others, because a string cannot be calculated, its either there or not. Maybe something will change in the macro parameters in the future, so far I haven't had enough applications to find out the best parameters. The three possible values are returned between the four seconds.
SCR_SetNumber ("wall", "height",   mValueStart, mValueEnd, mSlope, mS0, mS1, mS2, mS3, 1)
SCR_SetFloat  ("wall", "height",   mValueStart, mValueEnd, mSlope, mS0, mS1, mS2, mS3, 1) //same as SetNumber
SCR_SetVector ("bird", "position", mValueStart, mValueEnd, mSlope, mS0, mS1, mS2, mS3, 1)
SCR_SetString ("text", "message ", mValue1, mValue2, mValue3,      mS0, mS1, mS2, mS3)

#local mHeight  = SCR_GetFloat  ("wall", "", "height"   , 0);
#local mPos     = SCR_GetVector ("bird", "", "position" , <1,1,1>);
#local mText    = SCR_GetString ("text", "", "message"  , "nothing to say");
Spline
A spline must be defined before and passed to the macro as one parameter Value-Start. The resulting value is determined with GetVector(), because that's exactly what you want to get back. There is no GetSpline() macro.
#local mSpline = spline { // linear_spline | quadratic_spline | cubic_spline | natural_spline
    quadratic_spline
    -0.25, <-5,+1,-3>
    0.00, <+5,+1,-5>
    0.25, <+5,+1,+5>
    0.50, <-5,+4,+4>
    0.55, <-4,+2,+3>
    0.75, <-5,+1,-3>
    1.00, <+5,+1,-5>
    1.25, <+5,+1,+5>
}
SCR_SetSpline ("flightpath", "translate", mValueStart, mSpline, mSlope, mS0, mS1, mS2, mS3, 1)

ShowBigRocket ( SCR_GetVector ("flightpath", "", "translate",	<0,0,0> ) )
Mixed
In the mixed type countless parameters can be accommodated in a string. For many things, vectors can be misused, but with more than three or five dimensions, it slowly becomes cramped in them. The first thing that comes to mind in this context is a robotic arm that can rotate its foot and head and tilt joints between the arms.
/* translate (3 params), rotation foot, tilt-1, tilt-2, tilt-3, rotation head */
#local mMixed1 = "  0,  0,  -20,  0,  0,  0,  0,  0";
#local mMixed2 = "  0,  0,  100, 90, 20,180, 90, 45";
SCR_SetMixed ("robotic-arm", "all", mMixed1, mMixed2, mSlope, mS0, mS1, mS2, mS3, 1)

#local mTrans   = SCR_GetMixed_Vector ("robotic-arm", "", "all", 0, 2, <0,0,0>); //first three parameter
#local mRotate1 = SCR_GetMixed_Number ("robotic-arm", "", "all", 3, 0);
#local mTilt1   = SCR_GetMixed_Number ("robotic-arm", "", "all", 4, 0);
#local mTilt1   = SCR_GetMixed_Number ("robotic-arm", "", "all", 5, 0);
#local mTilt1   = SCR_GetMixed_Number ("robotic-arm", "", "all", 6, 0);
#local mRotate2 = SCR_GetMixed_Number ("robotic-arm", "", "all", 7, 0);

ShowMyAmazingRoboticArm ( mTrans, mRotate1, mTilt1, mTilt2, mTilt3, mRotate2 )
Marker
As a special type, there are SetMarker and GetMarker, which can be used to mark a range in the timeline without having to calculate anything. If the presence of a starry sky between second 10 and 30 is required, the corresponding lines would look like this:
SCR_SetMarker("stars", 10, 30)

#if (SCR_GetMarker("stars"))
    ShowStars()
#end
The strange second parameter
The second parameter of the Get macros was always left blank in the examples.#local mHeight = SCR_GetFloat ("wall", "", "height" , 0);
#local mTussi = TU_GetTussi ("tussi", "", mTussiParams, mTussiCenterType)
#macro TU_GetTussi (mParentName, mNewName, xParams, mCenterType)
    #ifndef( MA_Screenplay_Temp ) /* checks if screenplay is included */
        #local mMyName = ""; /* default if Screenplay isnt available */
    #else
        #local mMyName = SCR_GetName(mParentName, mNewName);
    #end
    ...
In this case mMyName = "tussi".
Further down, the main engine is generated.
#local mEngine = TU_MainEngine ( mMyName, "engine", mParams)
#macro TU_MainEngine ( mParentName, mNewName, mParams)
    #ifndef( MA_Screenplay_Temp ) #local mMyName = ""; #else #local mMyName = SCR_GetName(mParentName, mNewName); #end
Internal handling
Internally, relevant timeline-related data is stored in a large array located in the variable SCR_Data. This usually has many rows, but only three columns.
As there are:- Name of the object "sphere"
- Name of the property "translate"
- the value "<0,75.333, -197.4545>"
SCR_SetVector ("sphere", "translate", <-5,0,0>, <+5,8,0>, "", 10, 10, 20, 20, 1)
SCR_SetVector ("cylinder", "rotate", <0,0,0>, <180,0,60>, "linear", 30, 32, 38, 40, 1)
SCR_GetVector ("sphere", "", "translate",	<0,0,0>)
SCR_GetVector ("cylinder", "", "rotate",	<0,0,0>)
The cylinder, on the other hand, is supplied with a calculated value, in this case <90,0,30>. Here is the content of the array that the Tussi-Example produces in second 45.
----------------------------------------------------
Comment: SCR_Data
Rows   : 200
Cols   : 3
----------------------------------------------------
 stars, INTERNAL-marker,                    1.000000
   lig,          vector, 0.0000,0.0000,-1000000.0000
   sun, INTERNAL-marker,                    1.000000
 tussi,       translate,        0.7007,0.0000,0.0000
 tussi,          rotate,    0.0000,-45.0000,-90.0000
  moon,          rotate,       0.0000,-0.0201,0.0000
   cam,        location,       0.1752,5.0000,50.0000
   cam,          lookat,        0.7007,0.0000,0.0000
----------------------------------------------------
----------------------------------------------------------
Comment: SCR_Data
Rows   : 200
Cols   : 3
----------------------------------------------------------
          stars, INTERNAL-marker,                 1.000000
   tussi/engine,          active,                 1.000000
 tussi/booster1,          active,                 1.000000
 tussi/booster2,          active,                 1.000000
 tussi/booster3,          active,                 1.000000
 tussi/booster4,          active,                 1.000000
          tussi,       translate,   0.0000,389.3215,0.0000
            cam,        location,   1.0000,5.0000,-25.0000
            cam,          lookat,   0.0000,390.2069,0.0000
            cam,           angle,                60.000000
            cam,        location, 0.0000,379.2881,-50.0000
        bluesky,        transmit,                 0.801603
     tussi/leg1,       stretched,                 0.000000
     tussi/leg2,       stretched,                 0.000000
     tussi/leg3,       stretched,                 0.000000
     tussi/leg4,       stretched,                 0.000000
 tussi/booster1,      separation,                 5.030060
 tussi/booster2,      separation,                 8.036072
 tussi/booster3,      separation,                 5.030060
 tussi/booster4,      separation,                 8.036072
----------------------------------------------------------
Scenes
All scenes of the movie are defined in a separate macro.
#macro SCR_Init ()
    SCR_RegisterScene ("first",  20)
    SCR_RegisterScene ("slopes", 15)
    SCR_RegisterScene ("magic",  30)
#end
    SCR_SetScene  ("first")
    SCR_SetNumber ("sphere", "translate", <0,0,0>, <3,0,20>, "cosinus++", 0, 0, 20, 20, 1)
    SCR_SetNumber ("box", "rotate", <0,0,0>, <180,0,360>,    "linear"   , 0, 0, 10, 20, 1)
    ...

    SCR_SetScene  ("second")
    SCR_SetNumber ("car", "move", <0,0,0>, <3,0,20>, "bounce+", 0, 0, 15, 15, 1)
    ...
Start Screenplay
Almost at the end of the Povray file, Screenplay must finally be started.
/* Execute Screenplay */
SCR_Start()
Splitting the instructions
The creation of a longer animation actually has to be imagined like in Hollywood. There is a writer who writes the story, and on the other hand the actors, who follow these instructions.
Therefore, you should always get used to two strictly separated areas.
Above the script, the timeline - the virtual partIt is only about the definitions of when what should be done. Nothing else! How the later objects are created and what kind of effort is behind it is completely irrelevant in the upper part. Only instructions are given at the top. In keeping with the motto: How do I post a Giraffe? Pack it in a box, have it picked up, done. In principle, this upper part can be written by someone who has only a limited idea of Povray. Below are the objects or actors, the heroes of the film - the practical implementation
All the objects blindly follow the script created far in advance and only care about looking good in the right scene. When they have to be where is hidden behind many ominous SCR_Get*() macros, the calls of the director or writer, so to speak. Those below have nothing to do with the whole calculation, they are supposed to stand somewhere on command (from above!) and look as desired, where they don't care at all and that's the way it should be. There you can then become aware that posting a Giraffe is something more complicated. --- Not separating and instead mixing the two parts, and you won't find anything again.
If it works, the macro doesn't matter, it's still not a good idea.
Feel free to try it out, wish you good luck.
That's it for now
This documentation could go on for pages, but I don't have the time for that.If you are curious, you should take a look at the zip and the sample files it contains.
Download
⬇ ma_screenplay.7z => 180 kB 7-Zip - Version 1.0 from 29th December 2024
Videos
Tutorial
Tutorial
30 seconds - 1280x720 pixel - 2 MB
30 seconds - 1280x720 pixel - 2 MB
Tussi
Tussi - Flight number 1
85 seconds - 1920x1080 pixel - 20 MB
2550 frames - 30 fps - 23 crf
85 seconds - 1920x1080 pixel - 20 MB
2550 frames - 30 fps - 23 crf


